1. Access the Google Cloud Platform console and log in with any Google account.
In order to connect to Google Drive using the file input command or file output command, you need to create a Google app in advance and generate the client ID and client secret of the app.
1. Access the Google Cloud Platform console and log in with any Google account.

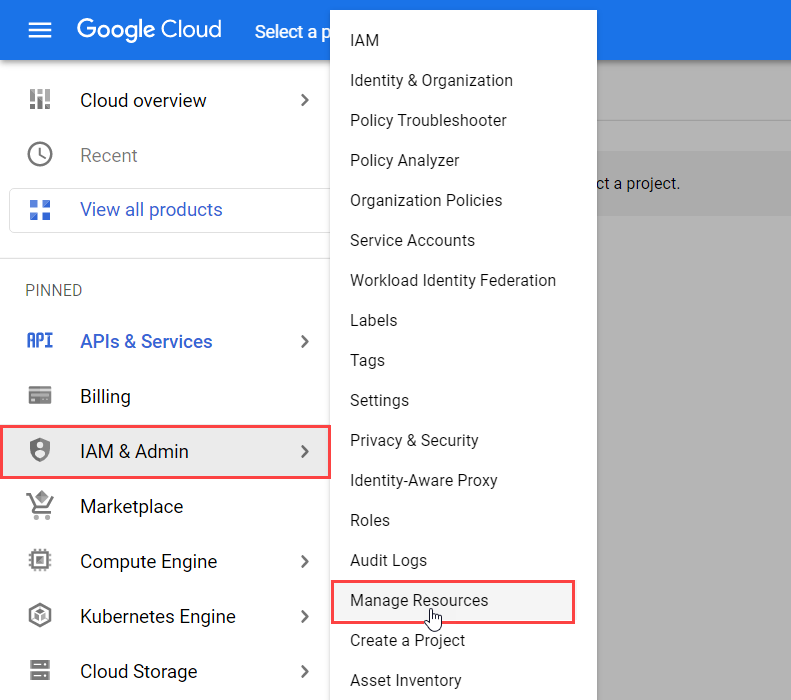
1. From the navigation menu at the top left of the screen, click IAM and Admin > Manage Resources. The Manage Resources screen will be displayed.
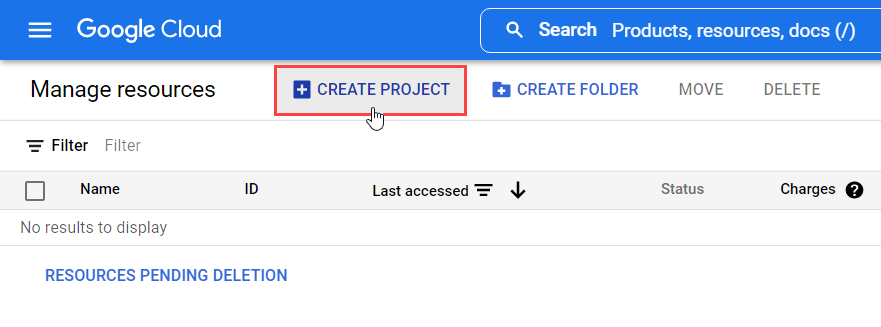
2. Click the CREATE PROJECT in the Manage Resources screen to create a new project.
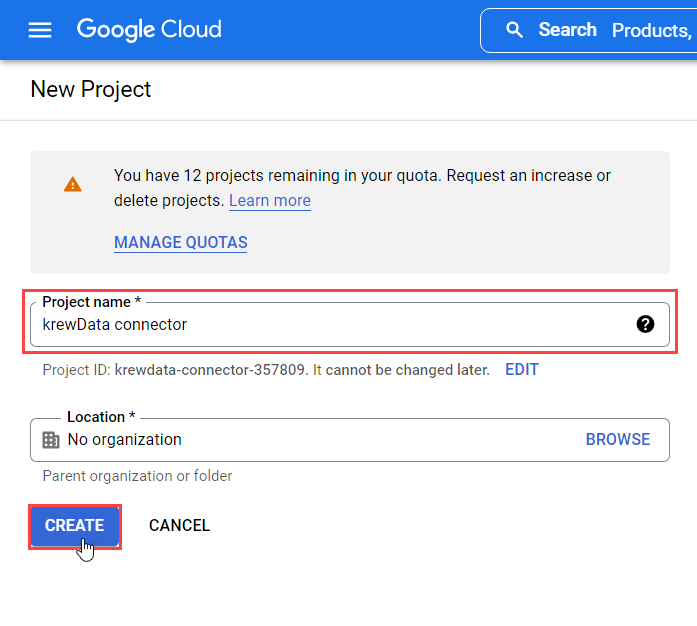
3. On the New Project screen, enter the name in the Project name field (eg "krewData connector") and click the Create button.
1. From the navigation menu at the top left of the screen, click APIs & Services > Enabled APIs & services. The Enabled APIs & services screen will be displayed.

2. Click + ENABLE APIS AND SERVICES at the top of the screen.

3. Click Google Drive API in the API Library screen.
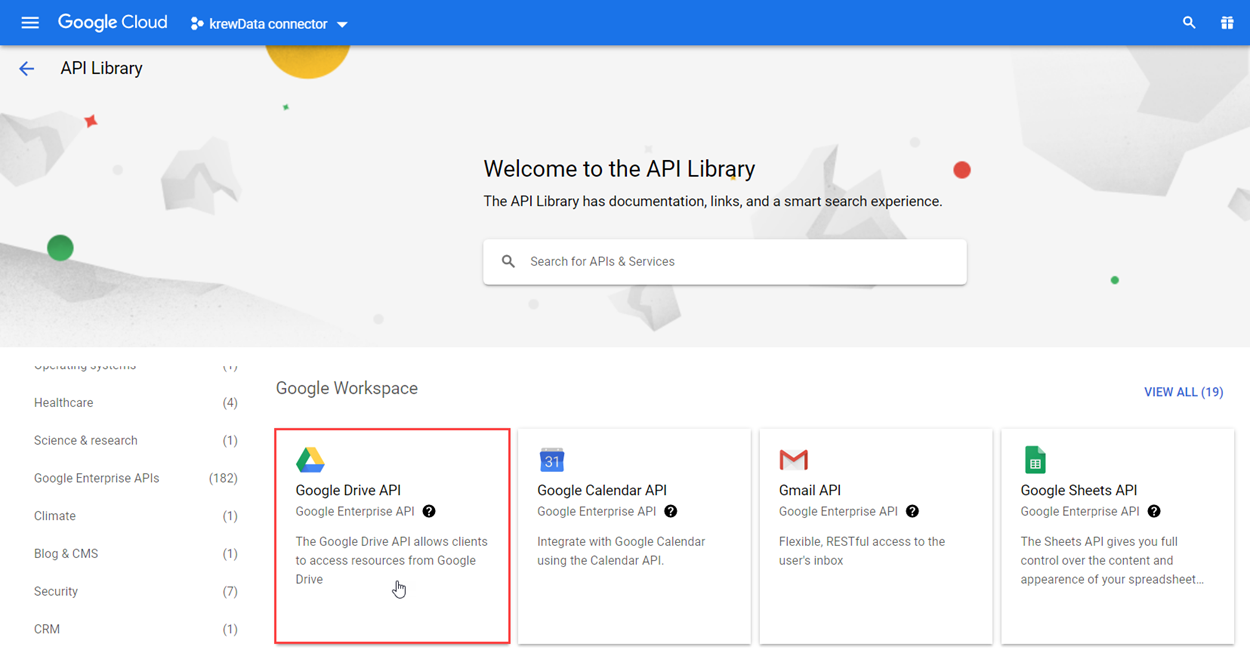
4. Click ENABLE button on the Google Drive API.

1. In the APIs & Services screen, click the Credentials from the left pane. The Credentials screen will be displayed.
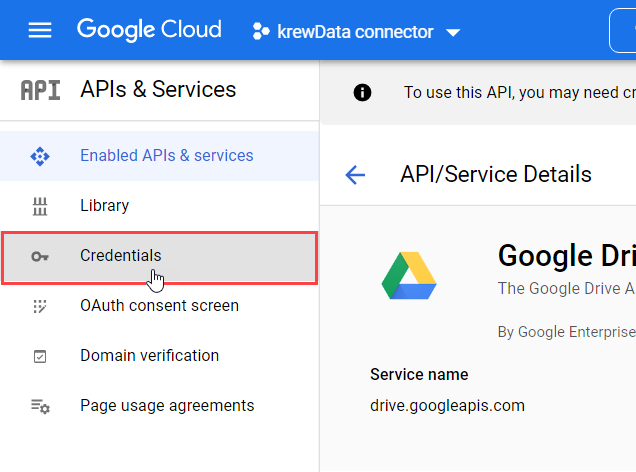
2. Click + CREATE CREDENTIALS at the top of the screen and select OAuth Client ID.
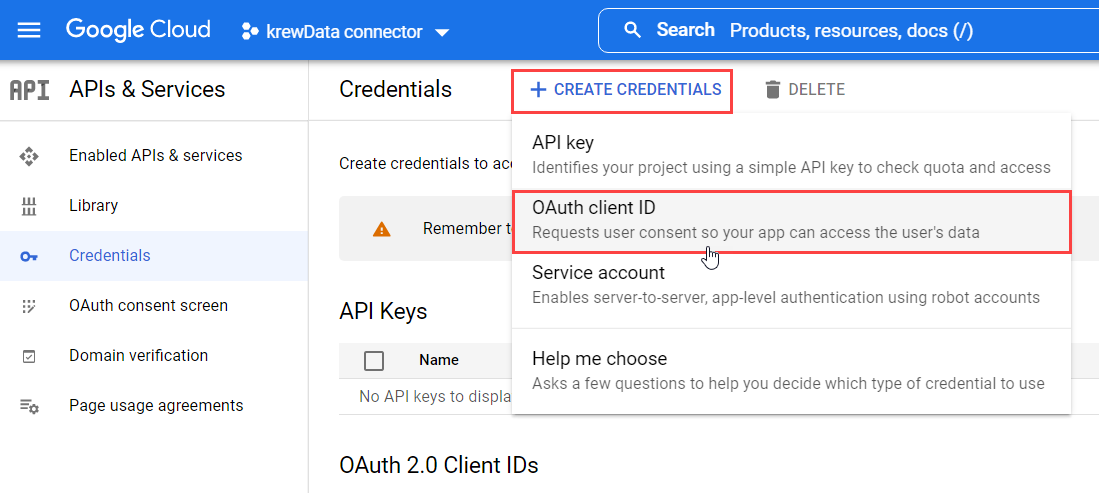
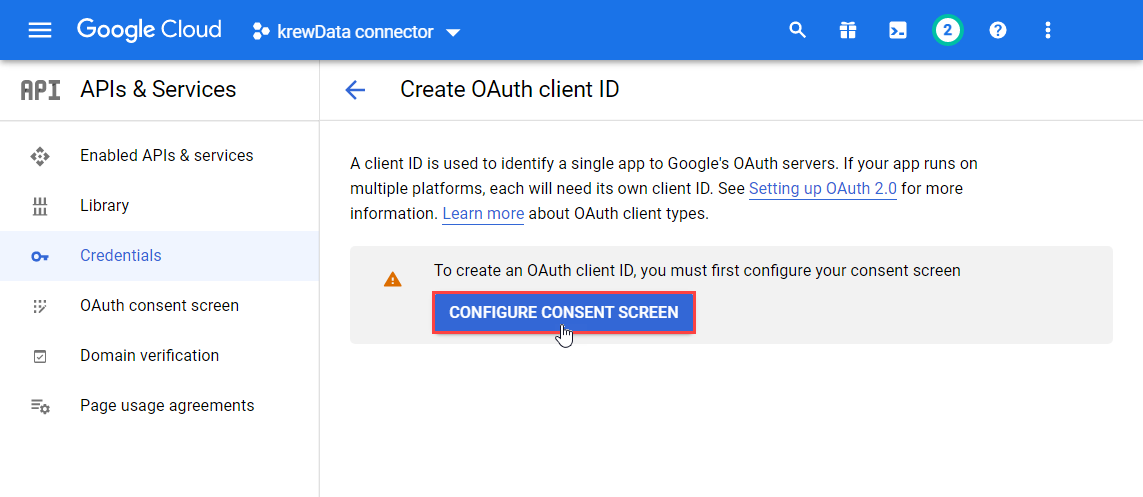
3. Click CONFIGURE CONSENT SCREEN on the Create OAuth client ID screen
4. Select External in User Type of OAuth consent screen and click CREATE.
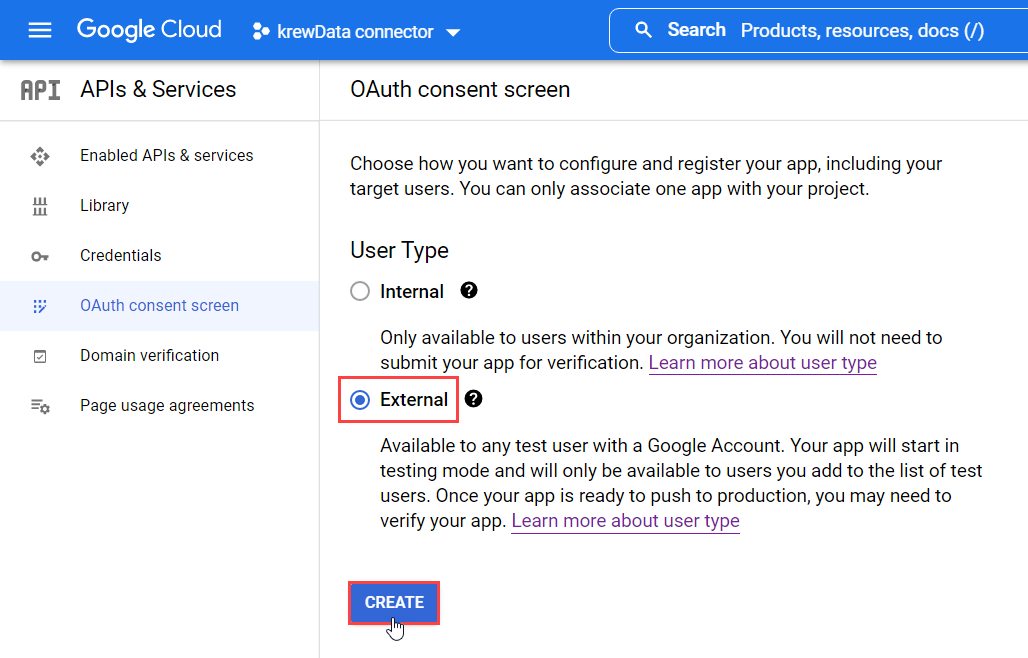
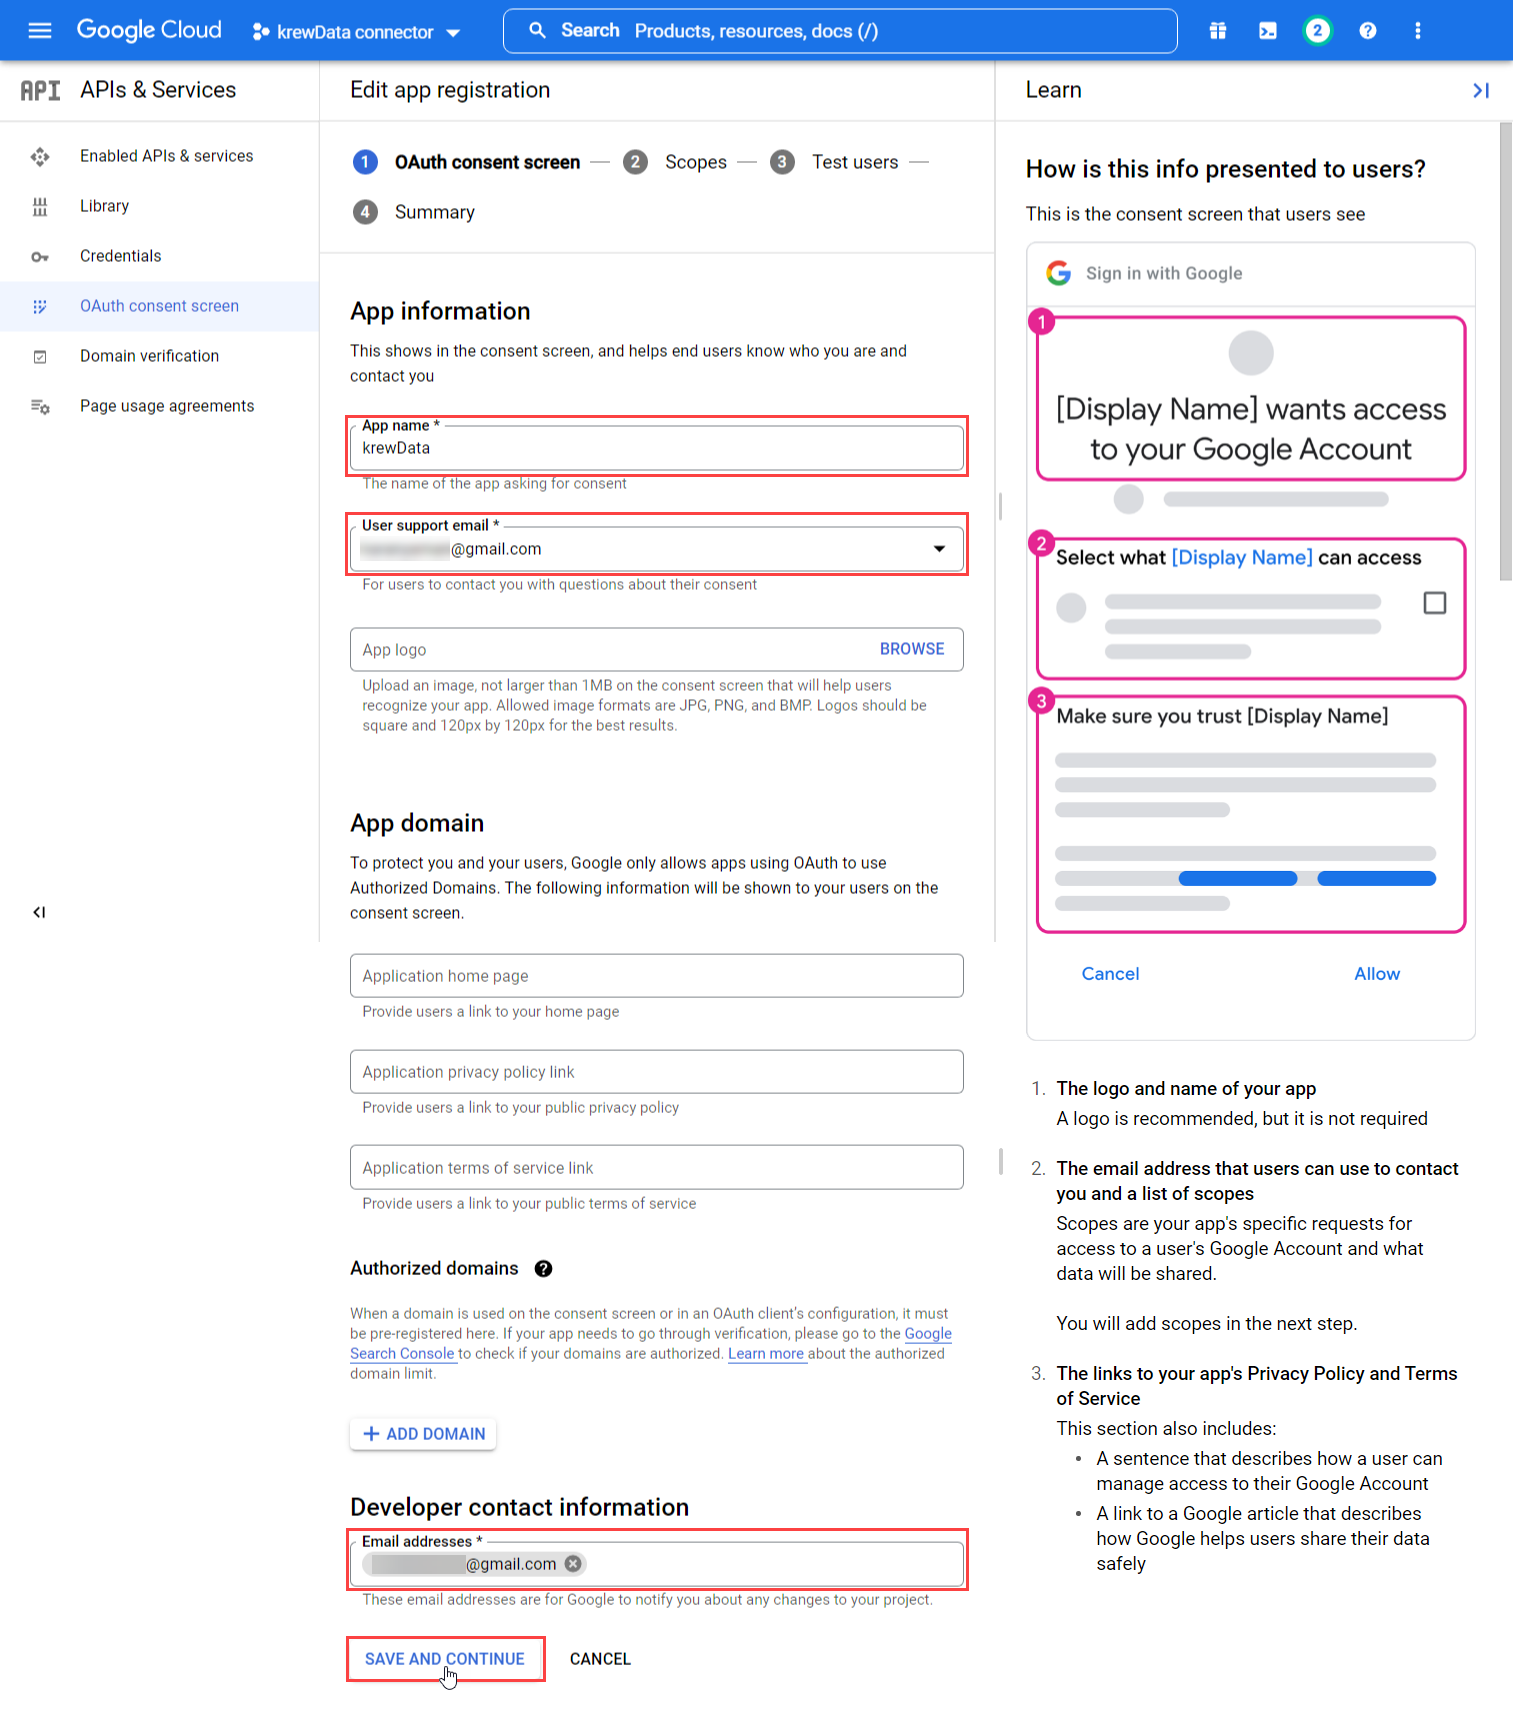
5. Set the following required fields in Edit app registration > ① OAuth consent screen and click the SAVE AND CONTINUE button.
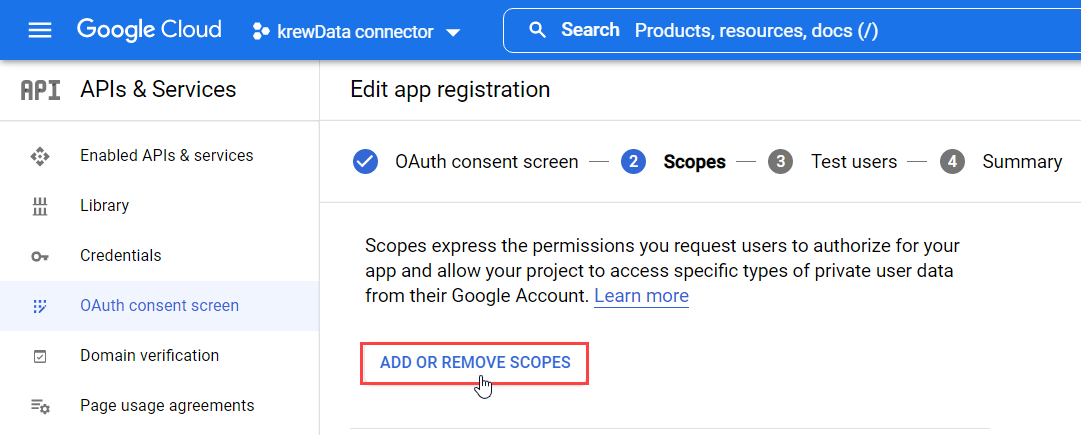
6. Click ADD OR REMOVE SCOPES in the Edit app registration > ② Scopes.
7. Check the following API checkbox in the Update selected scopes screen and click the UPDATE button.
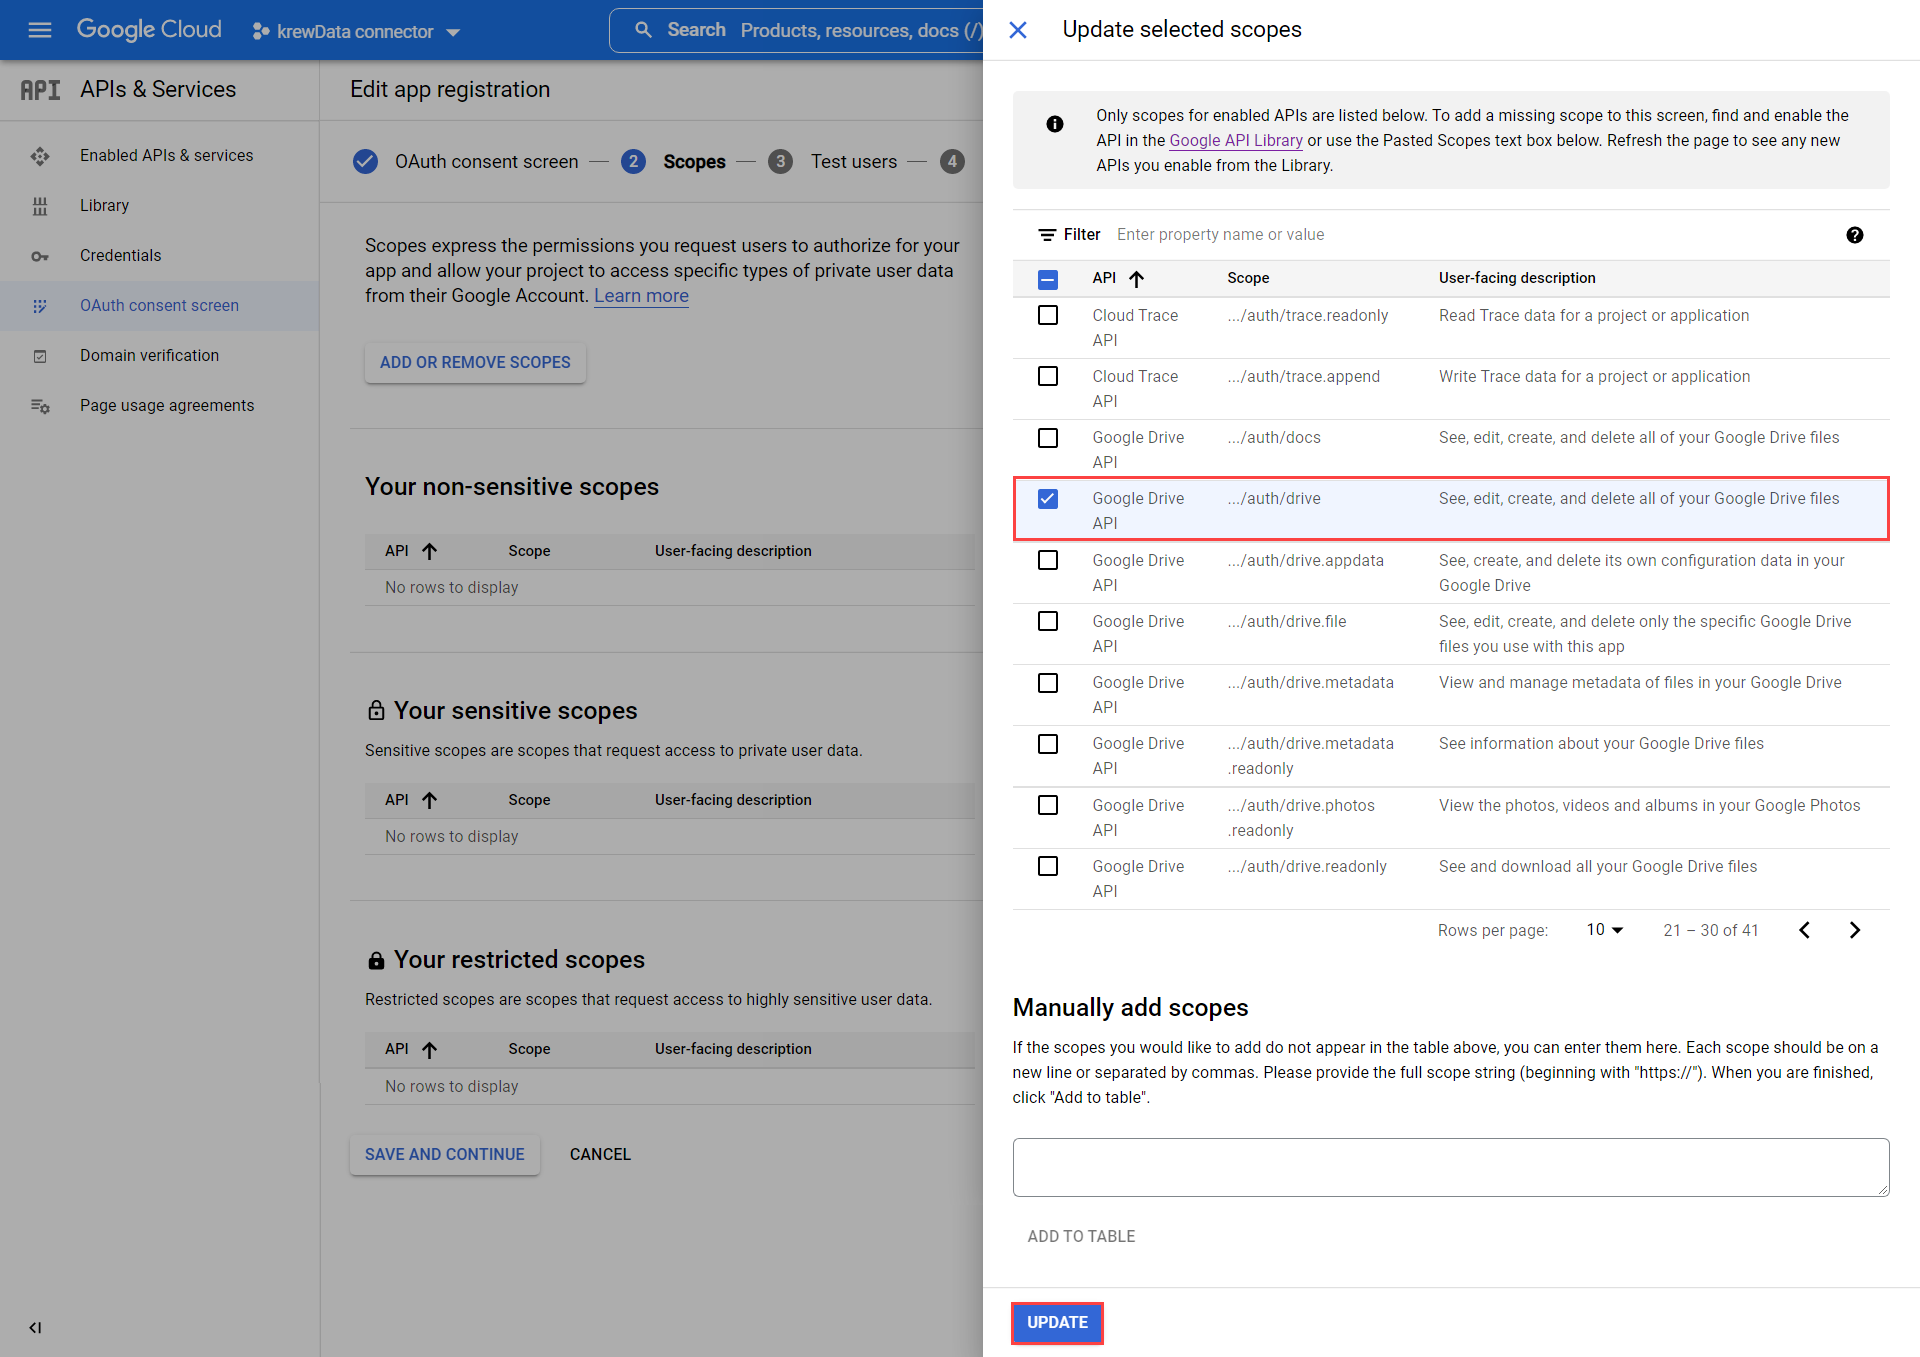
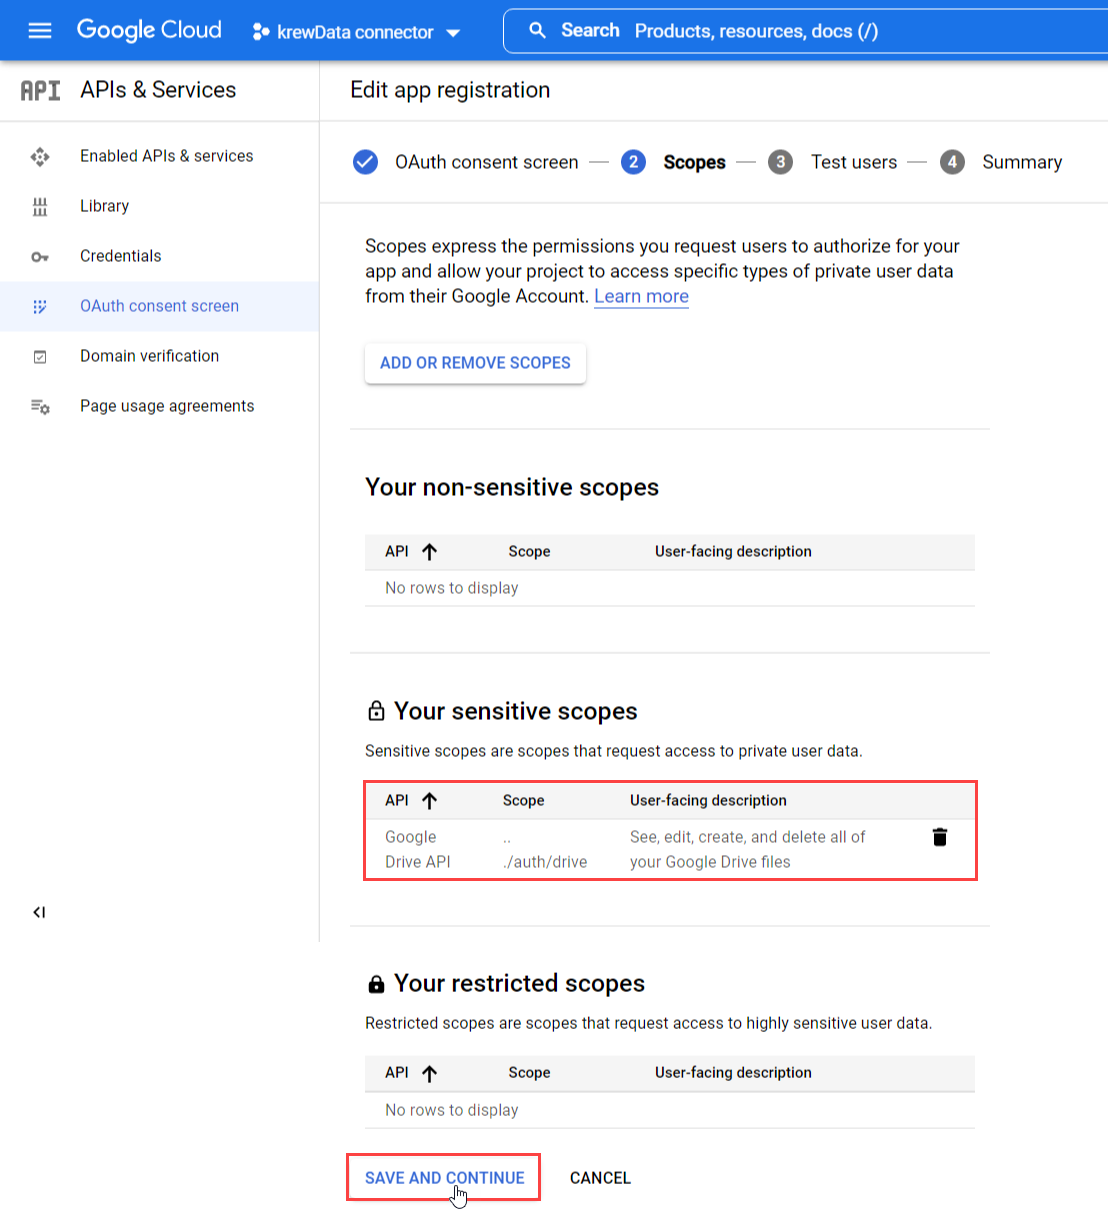
8. Confirm that Google Drive API has been added to Your sensitive scopes in the "Edit App Registration" > "② Scopes" screen, and click SAVE AND CONTINUE button.
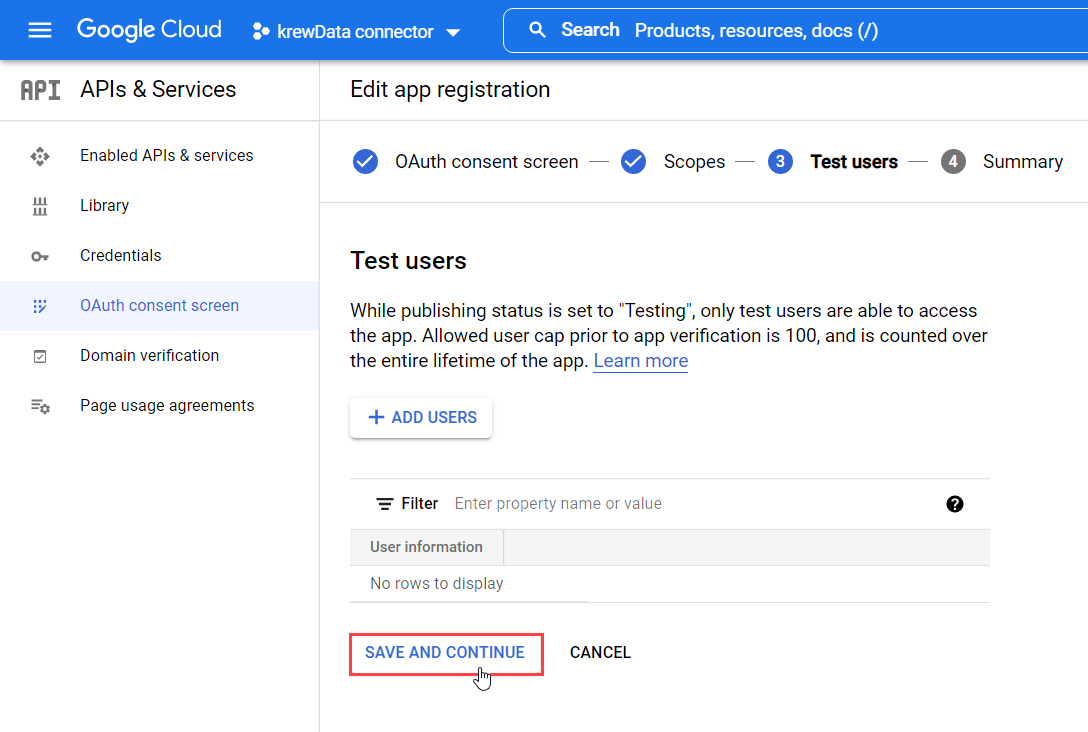
9. Click SAVE AND CONTINUE button in the Edit app registration > ③ Test users.
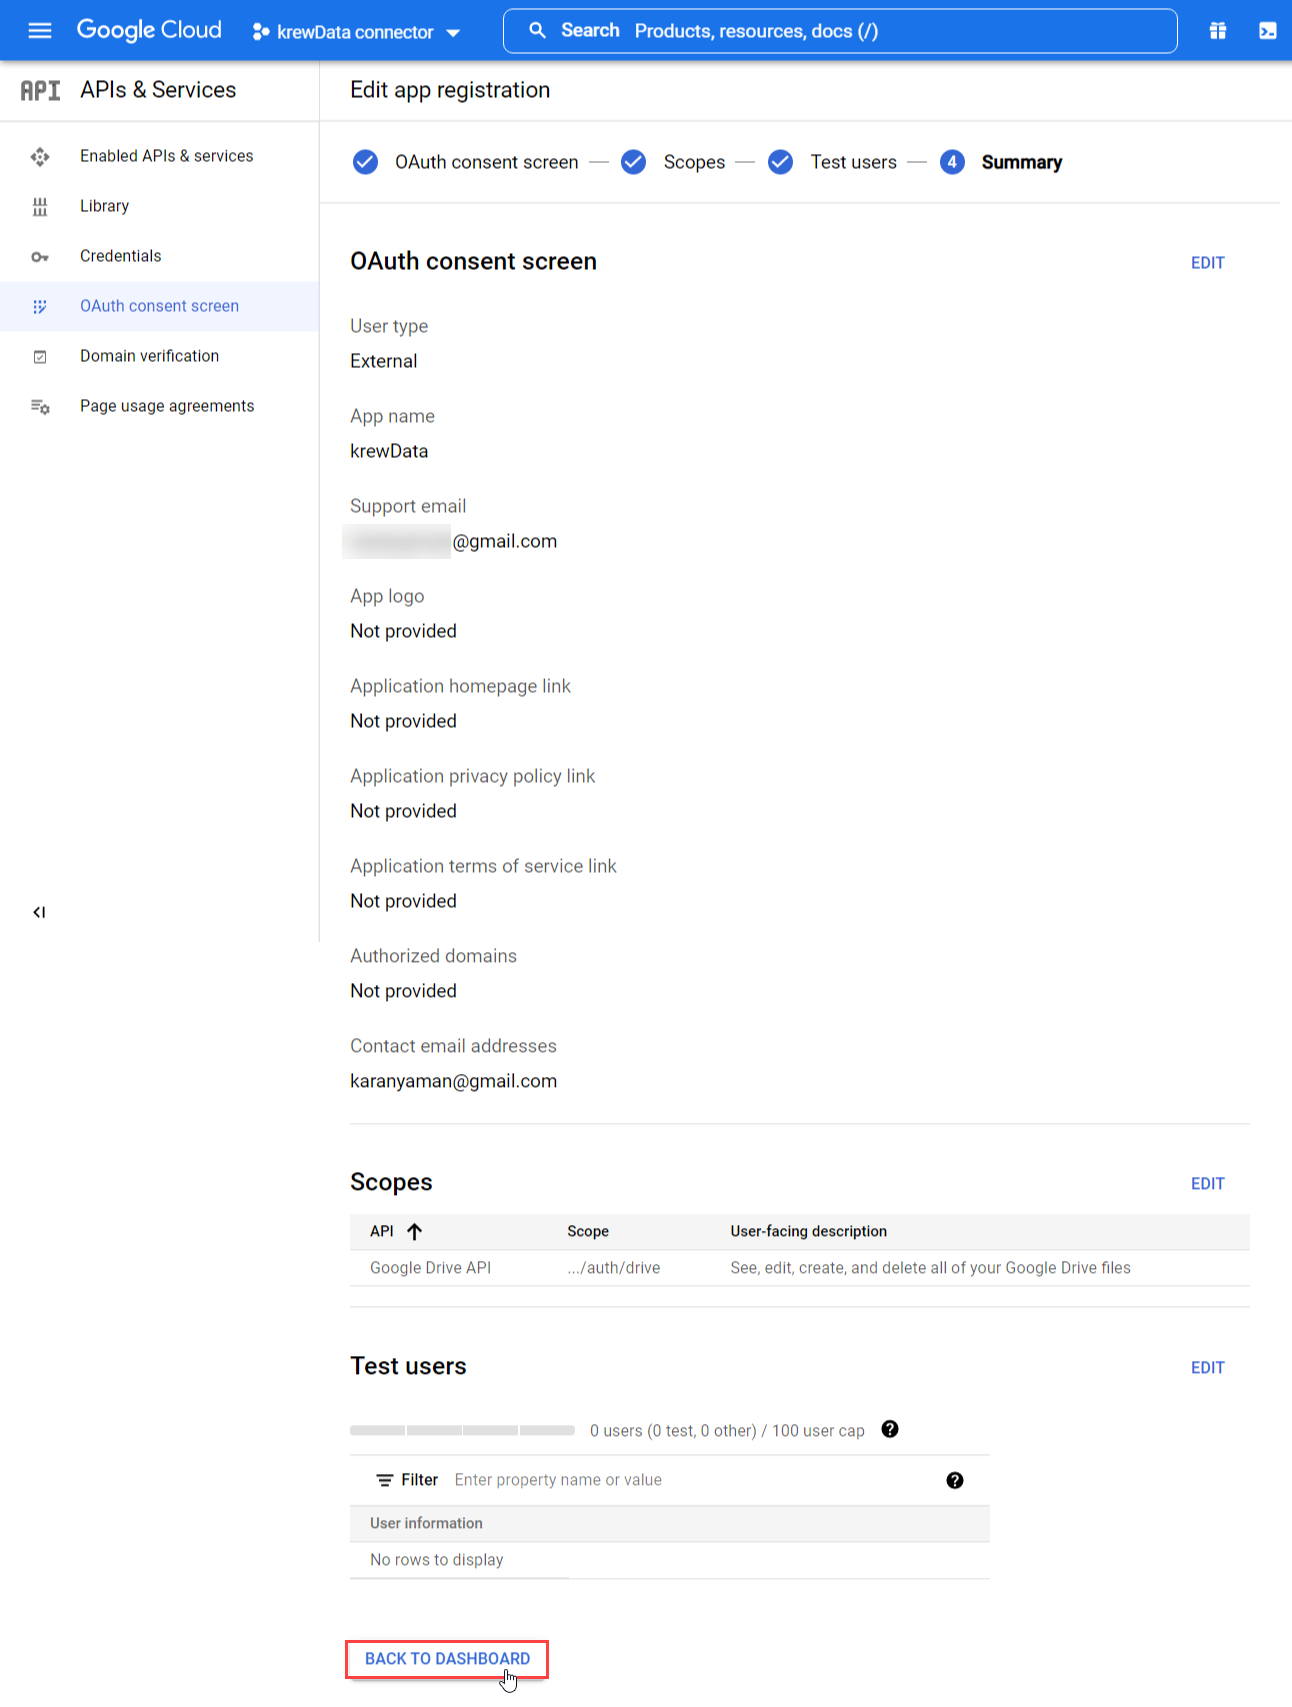
10. Click the BACK TO DASHBOARD button in the Edit app registration > ④ Summary.
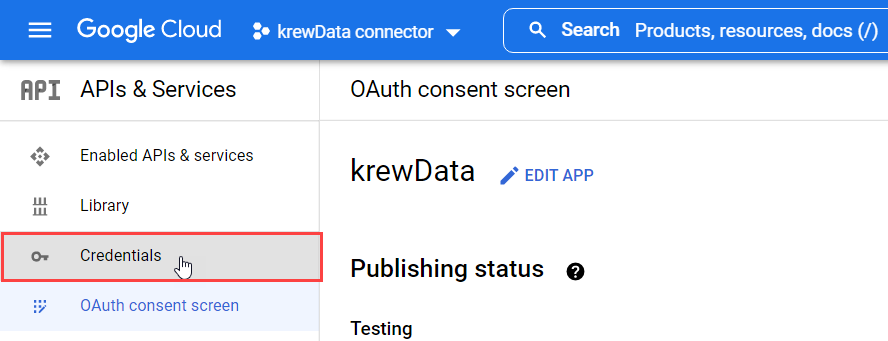
1. In the APIs & Services screen, click the Credentials from the left pane. The Credentials screen will be displayed.
2. Click + CREATE CREDENTIALS at the top of the screen and select OAuth Client ID.
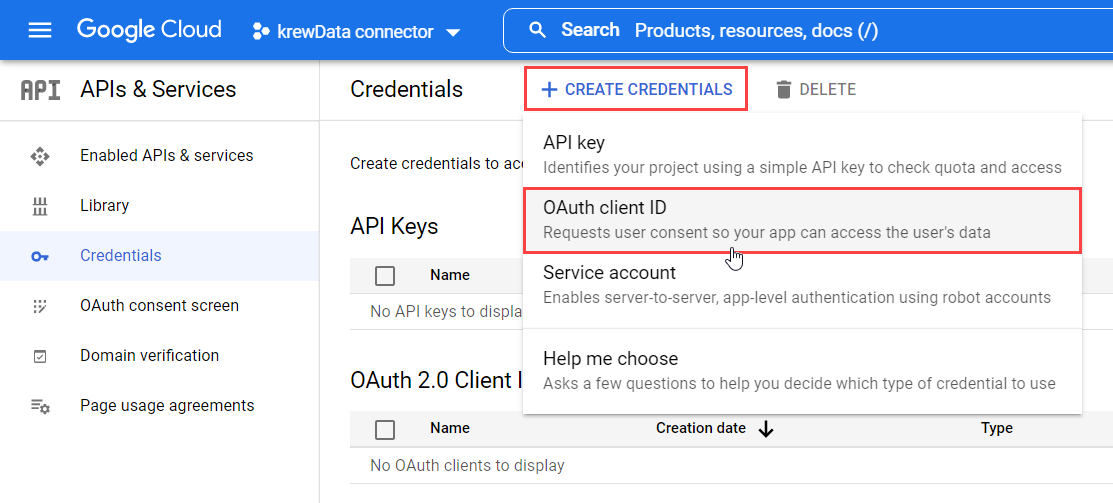
3. Set the following fields in the Create OAuth client ID screen and click the CREATE button.
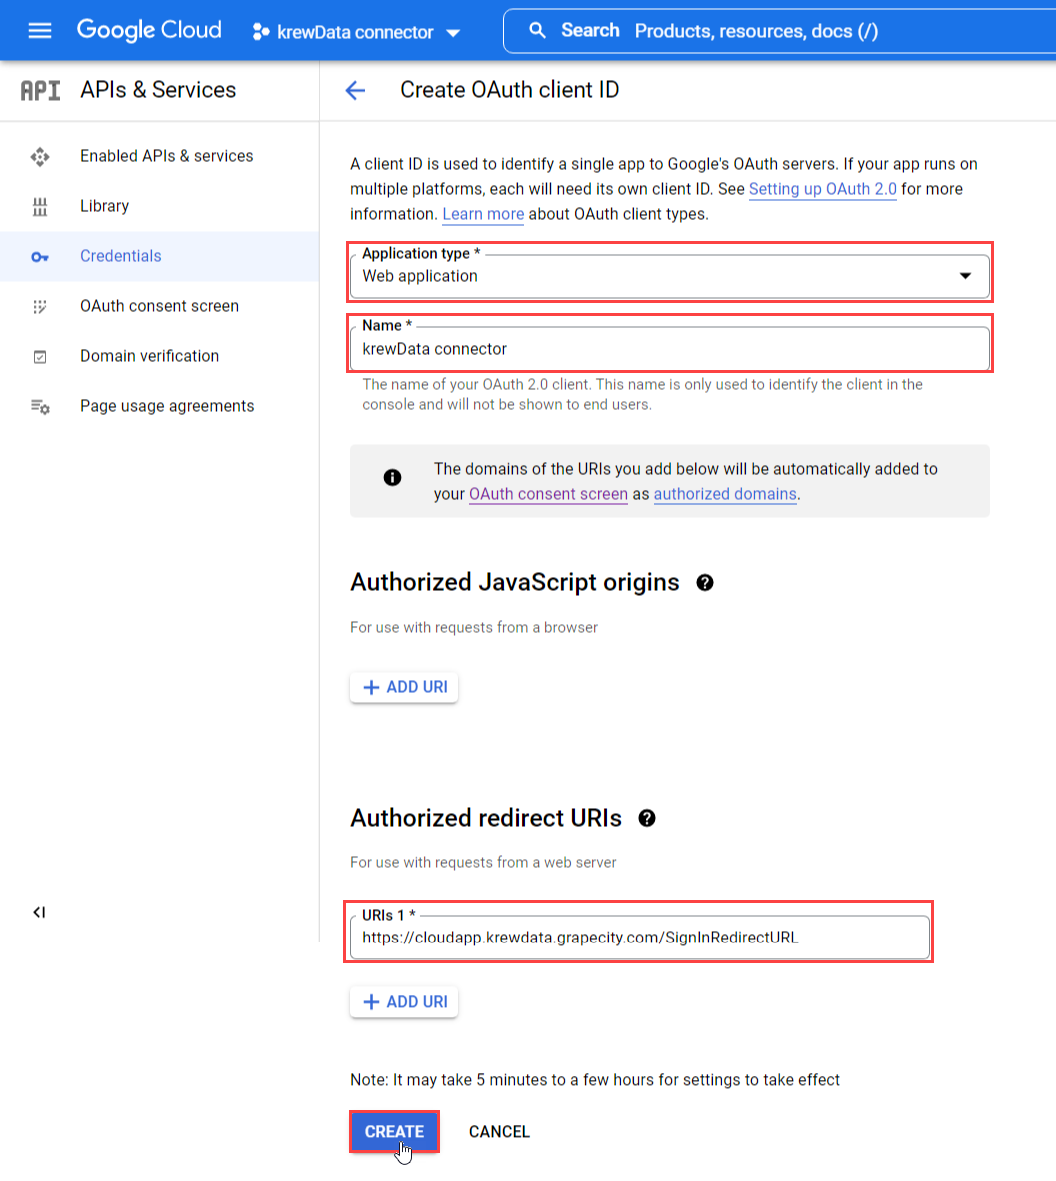
4. The client ID and client secret are displayed in the OAuth Client Created dialog.
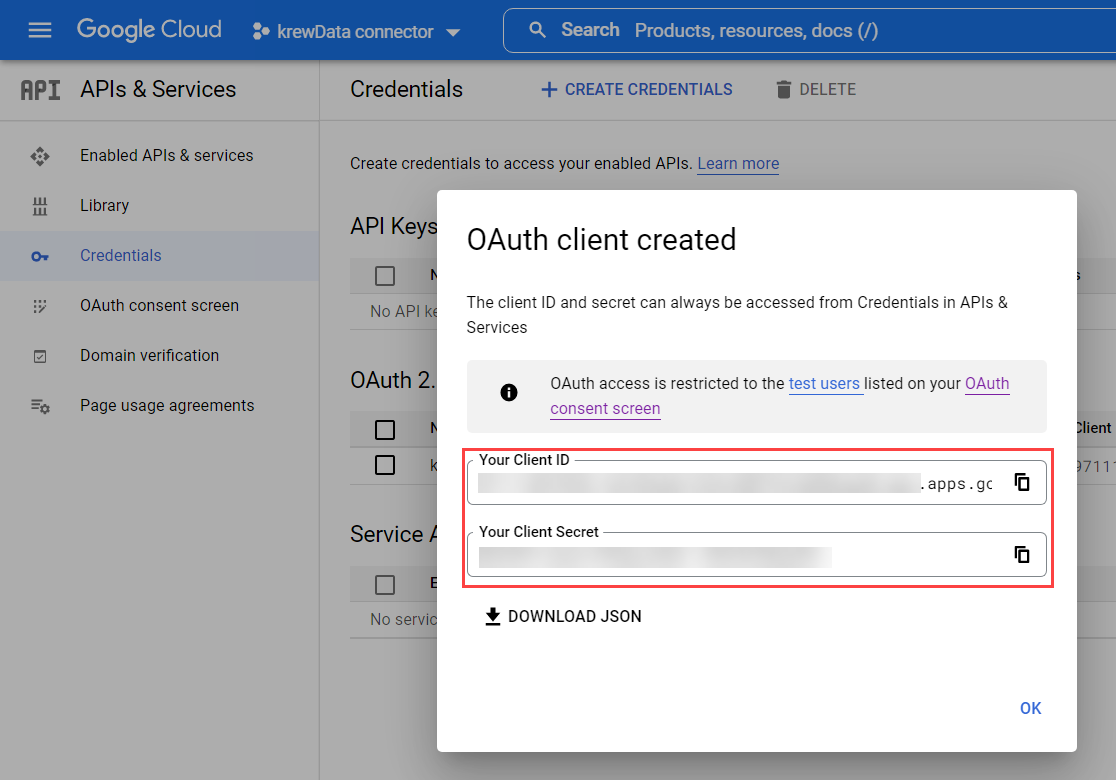
5. Click the OK button in the OAuth Client Created dialog.
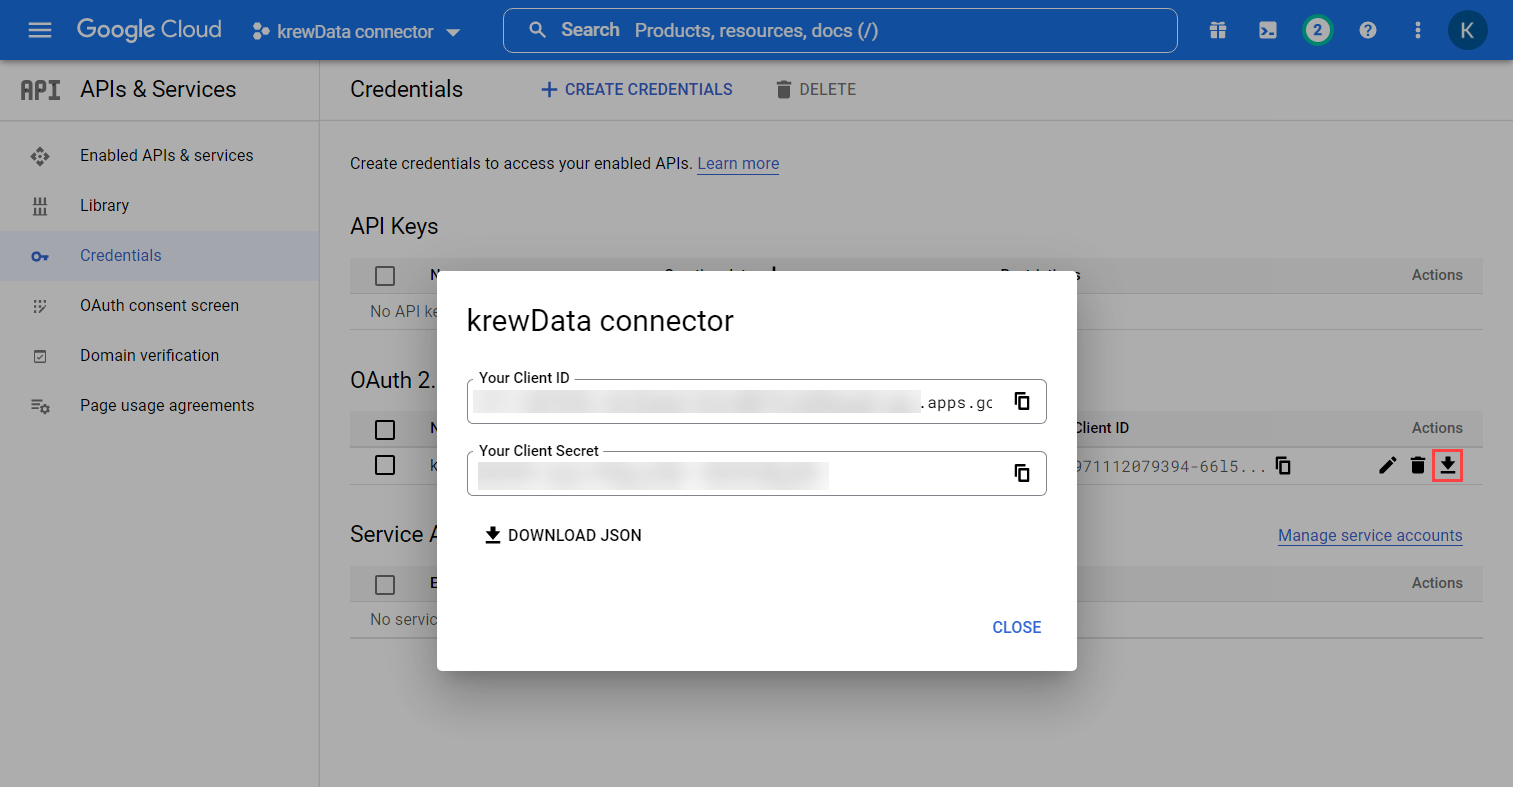
If you want to check the client ID and client secret, you can click the Download OAuth Client button in the list of OAuth 2.0 Client IDs in Credentials screen.
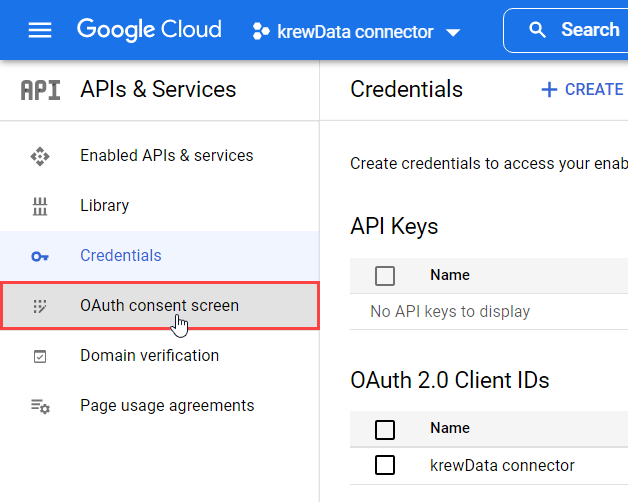
1. In the APIs & Services screen, click the Oauth consent screen from the left pane. The Oauth consent screen will be displayed.
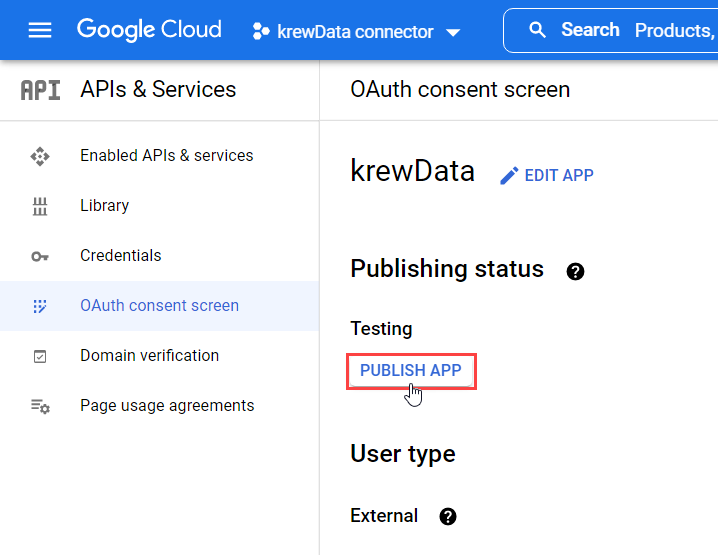
2. Click the PUBLISH APP button in the OAuth consent screen.
3. Click CONFIRM button in the Psuh to production? dialog.

This completes the creation of the Google app for krewData connection.